Learning how to use the tire repair kit is an essential skill for every car owner. If an expert is not near to fix it, and for some reason, you do not have a spare one, dealing with a flat is best done with a repair kit, so you should always have it among the things you keep in your car.
Let’s face it, tires get punctured from time to time. No matter how large, solid or new they are, these things happen, and sometimes far from home or any help. Apart from solving the current problem, you can spare yourself from buying a new one once you arrive home. Tires are not cheap, so learning how to fix one can save you some money, especially since they can be repaired permanently using plug equipment. And the best part is that you can do it in 15 minutes.
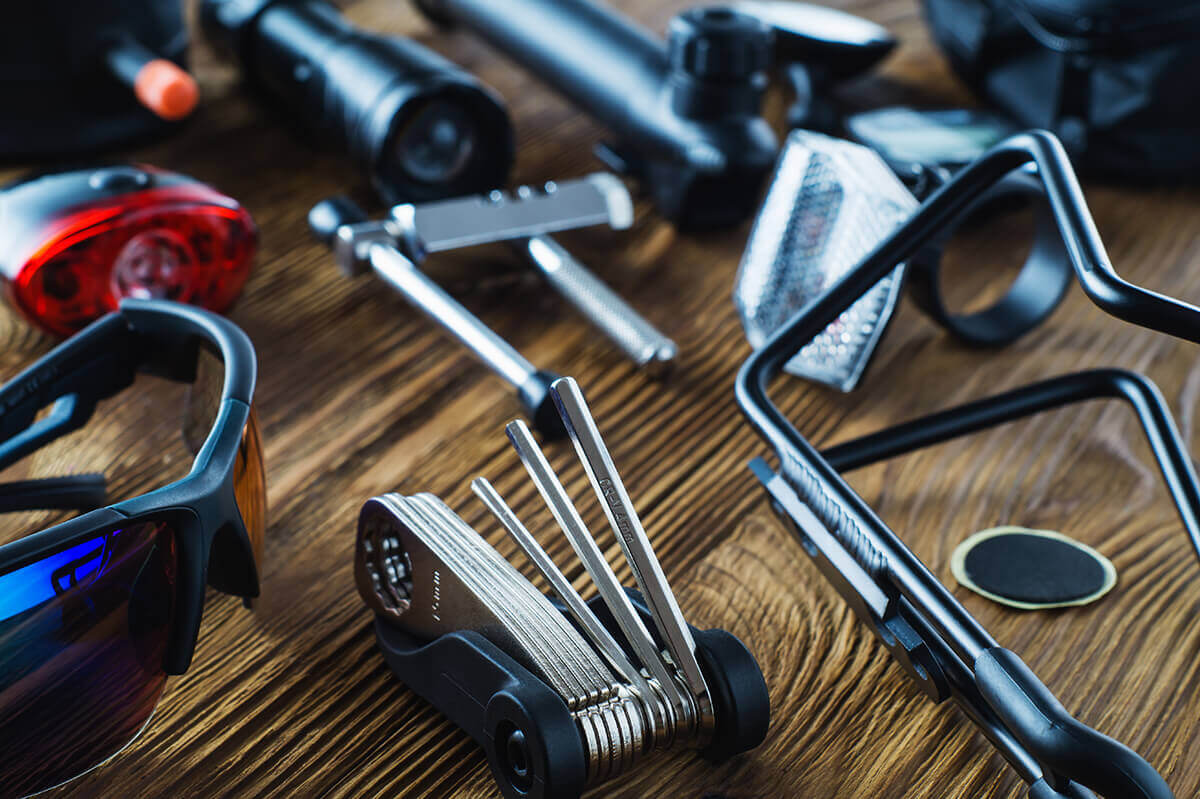
Besides the original tools for removing tires from the vehicle, like impact wrench and torque wrench, valve stem tools, chock, pliers, and vehicle jack, you will need plug equipment for flat ones. It contains a rasp utensil, an insert apparatus, two hex keys, string plugs and a tub of sealing lubricant.
The latest types of these kits are much easier to handle. They can be two-step kits containing a bottle of repair sealant for tires and an inflator, which are used by injecting the sealant into the puncture and then attaching the inflator to fill it with air.
On the other hand, one-step kits are used by simply attaching the hose which simultaneously injects the sealant and air. Make sure you choose the right-sized repair kit, as larger vehicles require more sealant and more powerful inflators.
Finding the puncture is the first and foremost step. If the crack is in the sidewall, you should not try to use plugs on it, as that part is under different pressure and can cause it to blow. You will have to remove the flat tire from the car and replace it with a spare one, using the original tools your car is equipped with.
If you can easily see the cause of it, then your job will be more straightforward. However, if that is not the case, you will have to spray some soapy water on it to check for bubbles, which will show you where the air is coming out. If there is an object inside, mark the place and take it out with pliers.

To take the flat tire off, you will have to work with a vehicle jack to elevate the car above the ground. Make sure you have found the right lifting points to place the jack to avoid damaging the car. Do not crawl under the car under no circumstances, as these hand jacks are not safe enough.
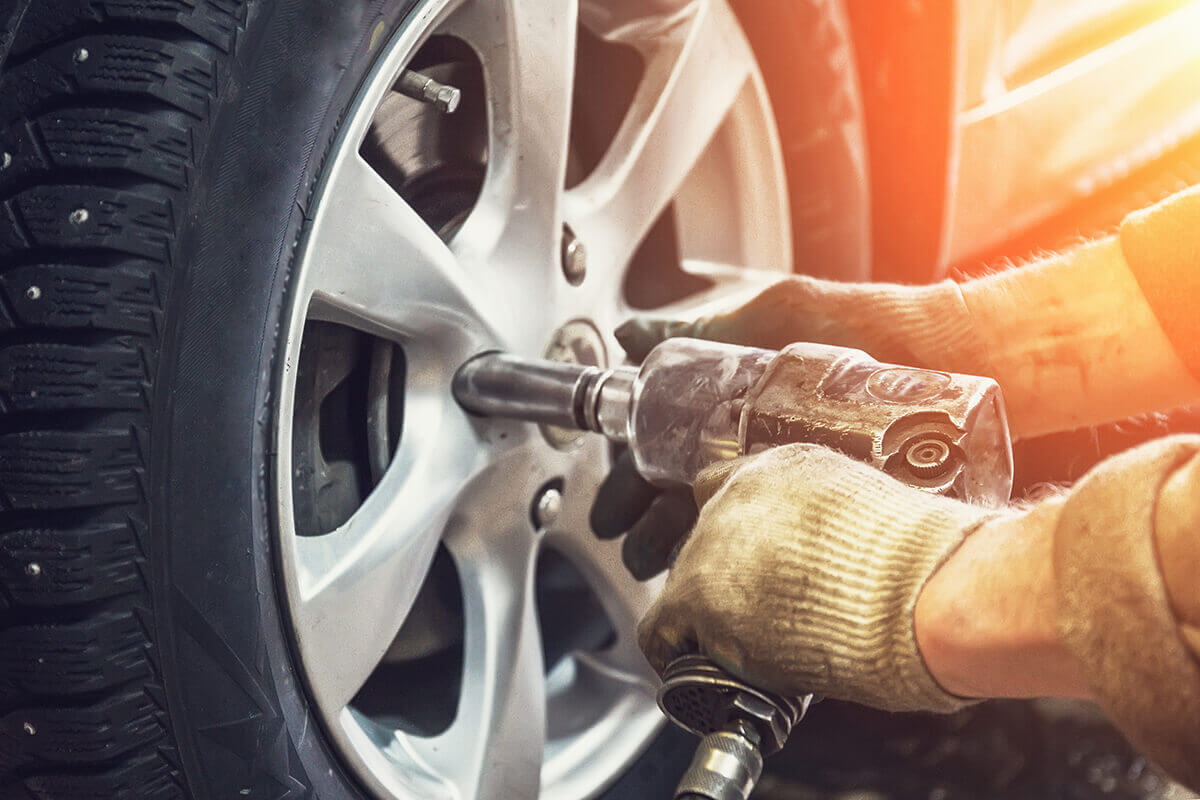
Remove the wheel lugs using an impact wrench and impact socket and place them somewhere safe in order not to lose them. Remove the valve stem core with a valve stem tool to deflate it, and, again, keep it somewhere safe. That way, the tool will be able to fit in.
When you locate the leak, remove the nail with the pliers or the screw with a screwdriver. Then, enlarge the hole with the rasp so that the plug can fit in. Attach it to the T-handle insert tool and inject it into the crack. Pull the T-handle out slowly and trim down the part that sticks out. After you pull it, you should usually reinflate the tires with a compressor or a hand pump, whatever you have that is appropriate at home or in your car.

Reaming the hole is important so that it can receive the tools. You will have a reamer in the equipment, so insert it into the crack and twist it multiple times, moving it up and down simultaneously. The reamer looks like a round file with a handle.
In your equipment, you will find some sticky tar “worms” that you need to peel off. Pinch the end of the “worm” so that you can thread it through the tool that looks like a giant needle with an eye. Pull it through so it is in the center of the plugging tool.
By using rubber cement, you can also clean the puncture. Apply a patch probe by covering its tip with a few drops of rubber cement, inserting the probe into the crack, twisting it from one side to another and upside down.
For this, you need contact cement, a holder and plugs, which are all included in the kit. Get the plug out and insert it into the utensil. Apply the contact cement there so that it can lubricate the hole. Then put the utensil in the crack and push the patch in with the utensil in the direction of the puncture channel. Next, pull the utensil back so the plug remains stuck in the hole. After you pull it out, you can cut the part sticking out to level it with a tread.
Before you started fixing the puncture, you had to let some air out so the hole can receive a plug. Once it is inserted into the puncture, it is time to reinflate the flat tire. You can do it using either a compressor or a machine at a gas station. Inflate it to the proper pressure, according to the requirements.
Now it is time to remount it. Put it back and hand thread the lugs on as far as you can and then work with the chock connected to the airline to check whether the rated pressure has been reached. Remove the vehicle jack and then tighten the lugs with a torque wrench according to the manufacturer’s specifications. If the tires have not been rotated and balanced recently, you should do it at the local mechanic’s to extend their life.
After you have finished everything, you are set to go. The fix should be in place and your vehicle ready to go. Make sure everything is as it should be, check if the hole is fully sealed and drive yourself home. And if you don’t manage to pull it off on your own, know that you can always rely on an auto shipping company to transport your vehicle safely to your address.