Are you a vehicle owner, wondering how to remove car emblems? If your answer is yes, you’ve definitely come to the right place. We have prepared an ultimate guide on how to remove emblems from a car just for you. Keep reading and find out the two best possible methods to take off badges from your vehicle.
Whether you’ve just purchased one of the most popular import cars or you’re about to prepare for shipping car cross country, you have many reasons to debadge your vehicle. Typically the first to go are dealership badges, but even a factory badge may need to be replaced. Removing a factory badge is a crucial part of restoring a classic or having high-quality paintwork finished.
Some motorists choose to debadge their vehicles in order to label it with a more personal logo, while others just want to drive down the famous routes in the USA entirely without it. Labels may contribute to the overall car’s appearance or detract from it. Also, there’s no need to give your vehicle dealer free advertising unless you want to. Besides, being on the road without it won’t affect road rage and will not influence driving stress levels. Whether you’ll be driving in New York City, around the streets of Los Angeles, or in any other city, it can be fun not to give other motorists a clue of what’s under your hood. On the other hand, learning how to take off car emblems is essential when performing an engine swap because you might need to update the badging.
Whatever your reason to remove emblem from car is, you’ll have to be really cautious. If you’re not, you could damage the paint or cause some minor dings and dents. The question is, how do you remove car badges without damaging paint? Follow our step by step guide, be patient, and you’ll be able to do the whole process quickly and easily.
Wondering how to remove a dealer sticker in the safest possible way? The dental floss method is your answer, though it’s also very time-consuming. Unfortunately, flossing will take time, but the possibilities of damaging your vehicle are minimal. No matter if you have some of the most expensive cars in the world or not, you don’t want to do any damage. If you’ve watched the best car shows, you’ve probably stumbled into the floss method. But even if you did watch some of the best TV shows about cars, you probably forgot the details. The good news is that we are here to help. Follow our steps and prepare the following tools:
Use hot water to remove the adhesive that keeps the badge on your vehicle. Remember that the water must be very hot, but does not need to be boiling. It should make a thick layer of steam. Hold it over the badge to soften the adhesion. If you want to speed the whole process, you can use a microfiber cloth and create something like a mini-tent with it. The tent should encircle the badge and the thermos and will direct the steam’s path.
After the steam softens the adhere, the water should still be very hot. In order to take off the adhere, pour that water slowly over the badge. The hot water will get between the vehicle and the badge.
Use dental floss (or fishing line) to floss the area between the metal and the badge. Try to make the motion similar to the one you’re using when you floss your teeth. You won’t pull the floss in your direction but saw back and forth from one side to the other. If you notice that the floss won’t move smoothly anymore, you should apply more hot water and go back to the first two steps before returning to the removal process.
A useful tip: To make the whole process more efficient, you can soak the floss in the adhesive remover.
As soon as the badge is loosened, you’ll see a thick layer of mess underneath. This is entirely normal, and you don’t have to panic. Press the microfiber cloth into the adhesive remover and start removing adhere that’s left behind. After the adhering and all the dirt are removed, you’ll be looking at the flat sheet of metal.
Now you can fill the bucket with soapy water and clean the area. Use a hose to spray it and then thoroughly wash it with a sponge and water. Then, let it dry thoroughly. It may take a few hours to dry, but you can speed up the process by using a towel. The final step is to wax the area where the badge used to be. Apply the wax using a circular motion. Remember that without wax, your car’s surface is exposed to elements. Thus, applying it is crucial.

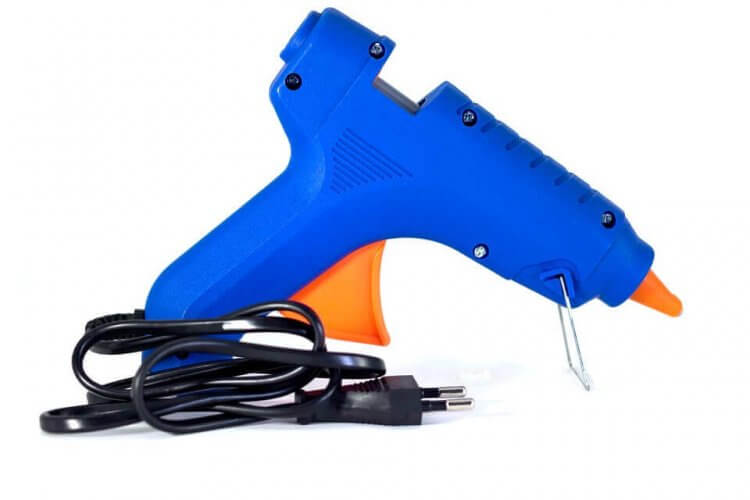
The heat gun method is faster yet also the riskier one. In essence, a heat gun can melt through adhering much faster than hot water. Primarily, heat guns are used to remove and soften the paint, and you simply wouldn’t want that to happen to your vehicle. Therefore, if you choose this technique, you should protect the car’s surface and be extra cautious.
As a less risky substitute, you can use a hairdryer. It will less likely melt your car’s surface, but the whole process will take a little longer.
Prepare the following tools and remove emblem from car:
Heat the badge area holding the heat gun several inches from your car’s surface. To avoid overheating and damaging the car’s body, be sure to move it around to different areas of the badge. You should not let the heat gun rest in one spot for more than a couple of seconds. To avoid paint melting, you should also remember to keep the heat gun at its lowest setting.
While holding the heat gun in one hand, use the other to periodically check if the glue has softened with a plastic putty knife. Typically, the adhesives should come off quickly as soon as they become gummy. Scrape the gummy adhesive off.
After the finished area is cooled down, you can take a microfiber cloth and apply adhesive remover in circular motions. That will remove the remaining glue. Since the heat gun would have softened the paint around the badge, it’s necessary to let the whole area cool. Once it is clean, you should apply wax.
You have read how to remove car emblems in the easiest and the safest way, but what about installing the new one? As soon as you wash all the dirt and the glue, you can take painters tape to make a straight line. You only get one chance to install it. Thus, you should make sure it goes straight by marking the top or the bottom of the badge. Prepare your new emblem and remove the tape off its back to expose the glue. Follow the painter’s tape mark and stick the badge onto the vehicle. Hold it in a place for a couple of minutes to ensure it bonds with the vehicle thoroughly.
Have you just bought your first vehicle, found the best car insurance for young drivers, looked up a couple of tips and tricks on how to drive a car for beginners, but don’t know how to blackout car emblems? You can do the whole process with the plasti dip spray in a couple of easy steps:
Do you have trouble with driving anxiety because there’s a decal on your vehicle, and you never actually wanted it? Apart from learning how to remove car emblems or how to remove spray paint, you should know how to remove car decals without damaging paint:

And that’s all there is on how to remove car emblems without damaging paint. Whether you prefer changing it with a more personal badge or you want to leave your vehicle bare, you now have detailed guidelines on how to do it quickly, easily, and successfully.
If you maybe need to move your car to another state and want to find a reliable auto shipping company that transports cars from state to state, you should spend some time finding the best one near you. A reputable auto transport company will offer car shipping advice and let you know whether you should opt for open carrier transport or an enclosed trailer. Whether you prefer enclosed auto transport or open carrier auto transport, you should definitely search for the cheapest way to ship a car. But before the professionals arrive, follow the instructions mentioned above on how to take off car emblems and have a prepared vehicle for a ride in your new home.