Step-by-Step Guide on How to Add Brake Fluid to Your Car

September 8, 2020Car Care and Revamp
Christina Hernandes

Christina Hernandes is a seasoned writer with a passion for helping individuals and families navigate the complexities of relocation and car shipping. Christina combines her expertise in automotive transportation with a knack for delivering practical tips and engaging content. With years of experience in content creation and a focus on stress-free moving solutions, Christina’s articles are your go-to guide.

We all know that sometimes it’s easier to rely on an experienced mechanic to solve even the smallest problem. But some things are completely safe to do on your own because there’s not much you can do wrong. Luckily, adding brake fluid is one of them. In case you don’t know how to add brake fluid to your car, you’re in the right place.

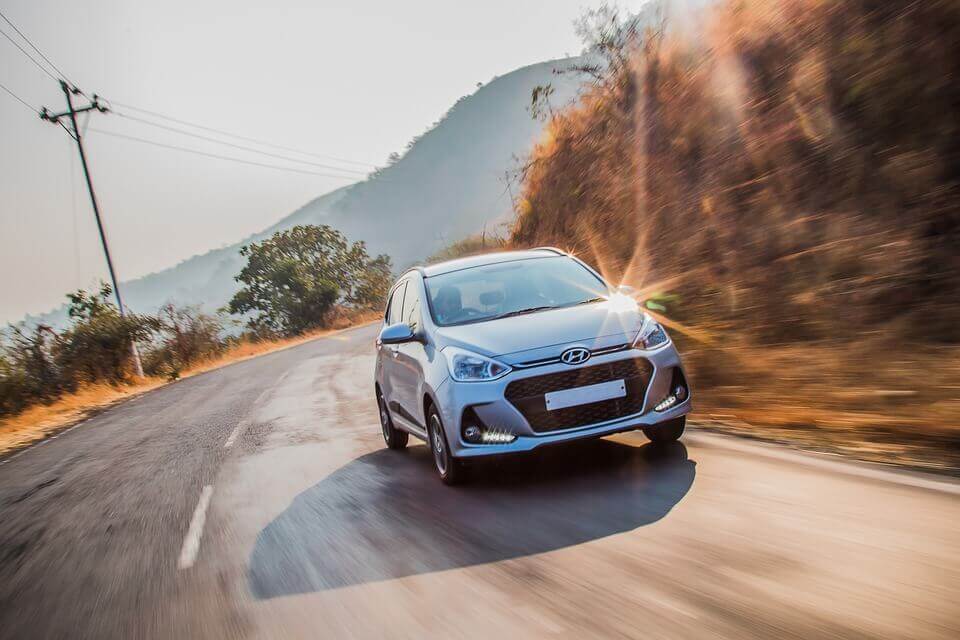
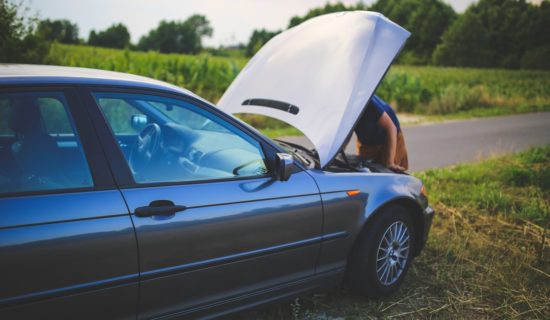
car on the road
Changing the fluid will be easy with the right tips

Proper car maintenance is much more than occasional washing and taking care of the interior. Suppose you want your vehicle to be a faithful and reliable companion on many upcoming adventures along some of the most famous routes in the US or just for city driving. In that case, you need to pay attention to some other details as well. If you weren’t paying attention to your driving school classes, here’s a second chance to learn how to add brake fluid to a car.

Give USA Auto Transport an Ask for a Free Quote

GET A QUOTE

Understand Your Braking System Before You Test It

Before we jump into the how-to part of this guide, we need to start from the basics, the braking system that is. It is essential to maintain it and ensure it is appropriately functioning because it is crucial for your vehicle’s performance and overall safety. Besides replacing some parts when they are worn out, you should regularly inspect the liquid level because that is what helps the entire braking system run smoothly. Every basic braking system consists of:

  • Master cylinder attached to the pedal
  • Liquid reservoir
  • Brake lines (pipes) for distributing the liquid
  • Disc (calipers) or drum brakes (wheel cylinders)
  • Brake shoes

Once you press the pedal, the master cylinder puts pressure on the liquid, causing it to move since it cannot be compressed. That liquid then travels through pipes to each wheel cylinder or caliper and puts pressure on the shoes, causing the car to stop. So without that liquid, your car won’t be able to stop once your foot applies pressure on the pedal. Testing your braking system from time to time is handy for diagnosing problems early and ensuring everything is working correctly.

four wheeler on the street
Braking system is an essential part of all vehicles, so ensure yours is working correctly.

Can You Just Add Brake Fluid to Your Car?

Simply said, yes. Although you can take your car to an experienced mechanic to do it for you, this is something you can do on your own without too much hassle. Whether you own some of the most expensive cars in the world or you just bought a used car, the process is quite the same and straightforward.

Can You Add Brake Fluid Without Bleeding?

Bleeding is not a mandatory part of this process, so yes, you can do it without it. Just inspecting the amount of liquid doesn’t require bleeding. Bleeding is something you should do when you completely drain the reservoir and push the brake pedal or when there’s a leak because it lets air bubbles into the lines/pipes. However, it is recommended to do it once in two or three years just to ensure their optimum performance.

How Much Does It Cost to Add Brake Fluid?

A bottle of refill liquid is relatively inexpensive, so if you’re ready to do it yourself, it won’t break your bank. Some local car garages will probably do it as a part of your annual tune-up, but if you pay a visit to your mechanic just to pour in this liquid, expect to pay more for labor. The cost doesn’t depend on the car model.

white jeep car
Can you locate the master cylinder? If not, take a look at your owner's manual.

How to Know What Brake Fluid to Use?

The best way to identify exactly which type of liquid your car needs is to check it in your owner’s manual. Sometimes you can find this information on the cap of your master cylinder reservoir, so check that as well if you don’t have or can’t find the manual. You should never try to pour in any other liquid as a replacement for brake liquid. It is not how it works. Also, try to stick to the recommended type of refill for your car.

What Is the Best Refill, DOT 3, 4, or 5?

DOT stands for the Department of Transportation responsible for placing regulations and specifications about brake fluid for cars in the US. So when it comes to different types of it, 3 and 4 are both glycol-based, but 4 boil at higher temperatures, which makes it more suitable for vehicles participating in motorsports.

DOT 5 is a silicone-based liquid that doesn’t absorb moisture like the previous two types, and it has the highest boiling point. However, a 5 should never be added to cars specified for 3 or 4 because it could damage the braking system. You can pour in a 4 in a car specified for 3, but not vice versa.

white car on the beach
You can always rely on your mechanic if you don't want to do all the hard work by yourself.

How to Add Brake Fluid: A Beginner’s Guide

Are you a beginner in driving? Perhaps you still don’t know how to replace U joints, change a flat tire, or use a tire repair kit, but you have to start with something. So today, we are going to show you how to put brake fluid in a car.

Make Sure to Inspect the Level of Fluid by Following These Steps

Get the right refill for your car

We already mentioned the importance of purchasing the correct refill. Look at the manual or on the lid to find the recommended type for your car. You don’t want to risk making a mistake similar to putting the wrong gas in your car.

Park your car on a flat surface

Your vehicle should be parked on flat terrain to get a real picture. If it is parked on a slope, you can get a wrong reading because the liquid level would be higher on one side. If your vehicle has ABS, you should look at the owner’s manual before doing anything because you might need to depress the pedal.

Raise the hood

Turn off the engine and raise the hood to find the master cylinder. It is usually on the driver’s side, in the back of the engine bay. Some models have a plastic protective panel covering it, so you might have to do a bit of disassembling to get full access to the master cylinder. If you’re having trouble finding it, here’s a tip: consult your owner’s manual.

Open carefully

Cover the fender before opening the tank. If possible, don’t wear your nice clothes because opening a fresh liquid container could damage your clothes and car paint. In case the liquid gets in touch with your hands, wash them thoroughly because if it can strip the paint from the metal, imagine how harmful it could be to your skin.

Clean the cap

Take an old towel or a cloth to wipe the lid before opening it because you don’t want any dirt or debris to fall into the tank once you open it. In case that happened, you’ll notice that the color of the liquid will change over time and even degrade and damage the braking system. So clean it all thoroughly before opening.

Examine the fluid level

In the vast majority of modern cars, the plastic tank is transparent, and there are easily visible MAX and MIN marks on it. As long as the amount of liquid is above the MIN mark, you’re fine.

Inspect the color

Inspecting the tint is another crucial thing to do before actually refiling because it gets contaminated so easily. When it is clear, the shade is lightly golden, like tea, but it gets darker when dirty with a bit of an amber undertone. Do a dip test with a strip, if it is dark, or you can see some debris floating around, there’s no point in refilling because your car needs a flush. Contact your mechanic to drain the system.

Refill time

In case the amount of liquid is under the MIN mark, and the color is looking good, there are no specks of dirt floating, then it is time for a refill. You should fill it up just a bit under the MAX mark. There’s no need to overfill it because it could spill out and cause damage. You might need to use a small funnel for refilling.

Cleaning again

Now carefully wipe the inside of the cap, so it is spotless before you put it back on. Press it down until it falls into its place, and ensure it is well sealed.

Test drive

After all that hard work is done, it is now time for a test drive to ensure everything is still running the way it should. Go for a spin around your neighborhood; there’s no need to go crazy on an open road like in TV car shows. Once you’re back, inspect the tank again to ensure there’s no leaking and that everything is done correctly.

Now You Know How to Fill Brake Fluid Into the Reservoir – It’s That Easy

We’ve explained it all thoroughly and went in-depth about every detail, but we all know that theory is one thing, and practice is something else. Although we can’t really assist you, we can show you a video on how to put in brake fluid, so that you get a complete picture about it and realize there’s no need for driving anxiety when it comes to this simple task.

YouTube video

What Happens If the Brake Fluid Is Low?

The low amount of liquid will cause that warning light sign on your table to turn on as a signal that something is wrong. You should take this seriously because this significantly impairs the performance of your braking system. You’ll have to push the pedal much harder to the floor to slow down somehow and stop the car. So this is something you shouldn’t ignore since it can put you in highly dangerous situations.

A family inside the red vehicle after terminal to terminal car shipping
Don't put yourself and others at risk. Regularly inspect the amount of liquid in the tank.

Inspect Your Brake Fluid Before Car Shipping

If you’re looking for a car shipping company to send your car on a road trip, this is something you should inspect before the day of your door to door auto transport. Perhaps you don’t know a reliable mechanic in your new city, you don’t have a spare can of refill, or you just forgot that the amount of liquid is at its minimum due to all the moving stress.

Prepare your car for car shipping with the help of car shipping advice. Before you opt for enclosed auto transport or an open trailer, check all the pros and cons of open and enclosed transport to pick the best solution for your four-wheeler. See what you need to do to register a car after you move and do everything on time.

Get a Quote

    check mark
    Download as PDF

    Moving Checklist

    Get a Free Estimate 855.675.3451